How to Photograph Hair Extensions for Instagram and Client Consultations
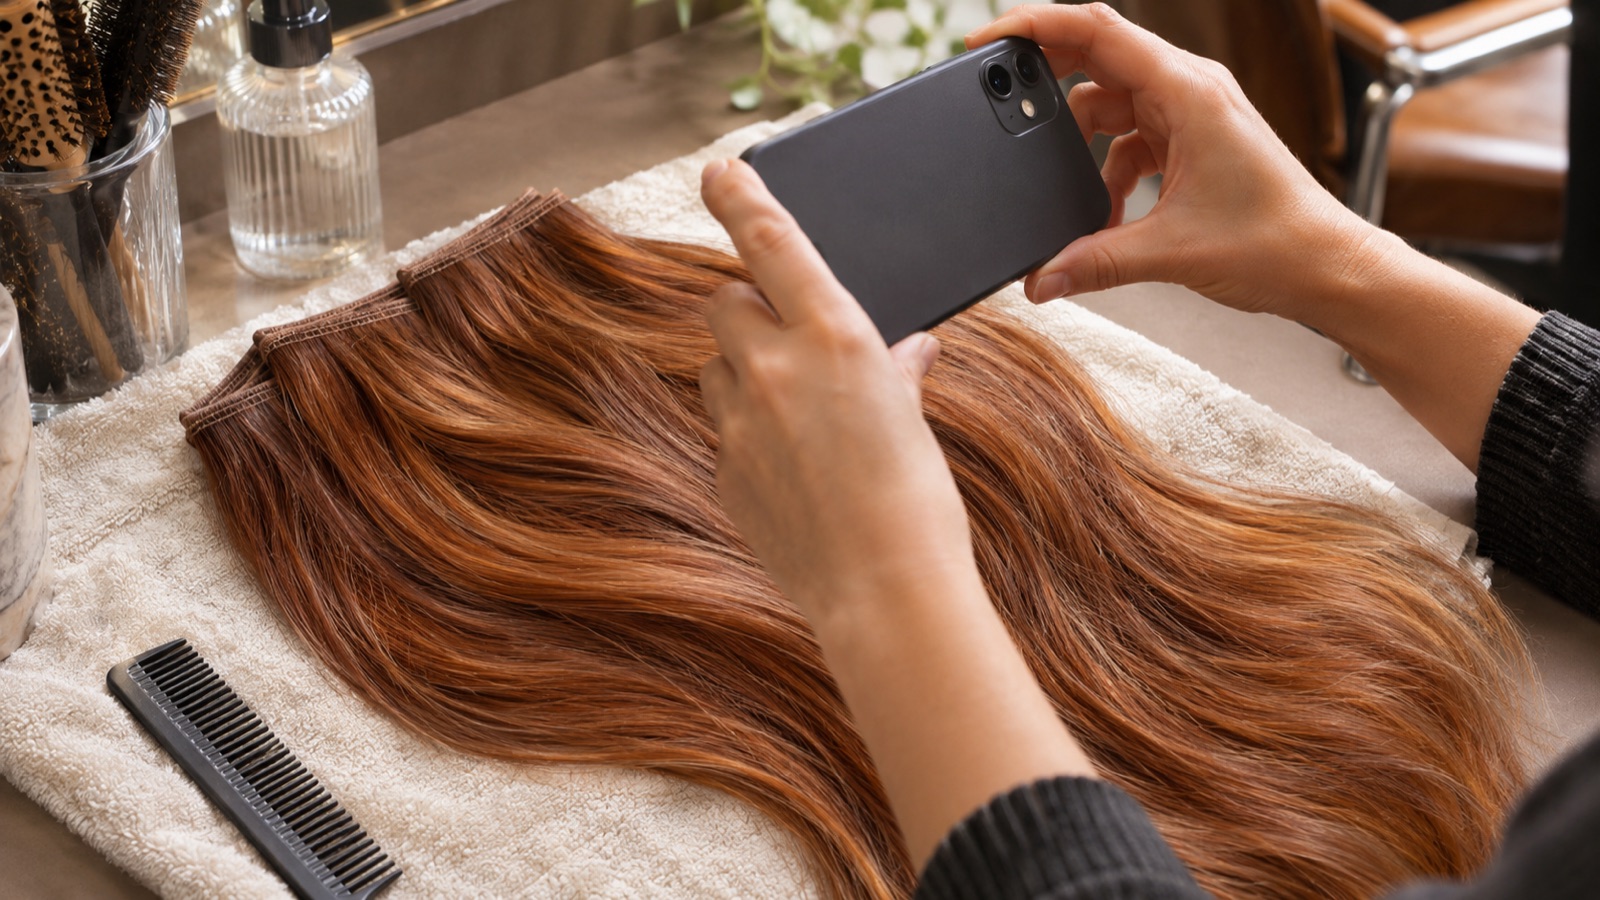
How to Photograph Hair Extensions for Instagram and Client Consultations
The gap between a technically flawless extension install and a technically flawless extension photo is where most stylists lose clients. Scroll any extension specialist's grid and the pattern holds: mediocre photography undersells exceptional work, while a single well-lit, well-composed before-and-after can generate more consultation requests than a week of story content. The skills required to document extension work well are learnable, and the equipment required is smaller than most stylists assume.
Why Extension Photography Fails — and It's Not the Phone
Extension specialists frequently attribute poor results to their camera equipment, but the actual variables are lighting direction, hair prep, and backdrop. Overhead fluorescent salon lighting is the primary culprit: it flattens color, deepens shadows along the part lines, and makes even high-quality wefts read as plastic or artificial in a photograph. Natural window light from the side or behind the client — what photographers call a "hair light" or "rim light" — separates individual strands, shows movement, and renders color accurately.
Hair prep for photography differs from hair prep for a client leaving the salon. A client's blowout may be perfect for wearing, but for photography it needs to be photographed within 20 minutes before the style begins to compress. Fine hair is particularly unforgiving here: once it flattens to the scalp, volume reads as thin regardless of how many rows were installed.
The before-and-after format is the most commercially effective documentation a stylist can produce — extension clients consulting with a new specialist will look for before-and-afters specific to their hair type, not just aspirational results on thick hair. A before shot taken in the same location, same lighting setup, and same angle as the after is dramatically more persuasive than a before shot under fluorescents and an after shot near a window.
The Equipment Stylists Actually Use in 2026
Extension photography at a professional level does not require a dedicated camera. iPhone 15 Pro and the Google Pixel 8 series both produce results indistinguishable from a DSLR for social media applications, provided the lighting is correct. The variable that makes the most measurable difference is a ring light or a softbox, both available for under $80.
For studio-quality results in a salon suite setting, a 26-inch softbox on a floor stand positioned at 45 degrees to the client — about 3 to 4 feet away — is the professional standard. It creates directional, even light that separates the hair from the background without harsh shadows. Total setup cost including the stand: $150–$200.
For on-location or mobile stylists, a collapsible ring light with a phone mount ($40–$60) provides acceptable but not exceptional results. The limitation of ring lights is catchlight placement — the circular reflection appears in the eyes, which reads as commercial, not editorial — but for Instagram Reels this is a non-issue.
Backdrops matter more than most stylists realize. A solid neutral wall (white, off-white, or dark grey) removes visual noise and keeps the viewer's attention on the hair. A cluttered salon background competes. Dedicated photography backdrops on pop-up frames cost $50–$80 and take two minutes to set up and store.
Composition Angles for Extension Documentation
Extension photography has specific technical requirements that differ from standard portrait work. The primary angles that communicate extension quality are: the back-of-head shot showing density, movement, and blendline; the side profile showing length and natural fall; and the detail shot at the nape showing installation quality and scalp appearance.
The detail shot at the nape is where most stylists leave work undocumented. A clean nape shot taken with good backlighting — the phone positioned below the occipital bone, angled up, with a rim light behind the client — shows installation quality in a way that distinguishes specialist work from a general stylist who "does extensions." This is the shot that resonates with other stylists who are considering referring clients.
For tape-in work specifically, a shot taken 24 hours post-install (once the bonds have had time to relax) with the hair worn naturally straight or lightly waved will document the method's strength: invisibility at the bond line. A freshly-installed tape-in photographed immediately often shows slight ridge lines that aren't visible in real life due to the 3D nature of hair — waiting one day eliminates this.
Before shots: taken in the same location as the after, same angle, same lighting setup. The client's hair should be clean and dry but not styled. The goal is neutral, not unflattering — an unflattering before is visually manipulative and clients recognize it.
Color Accuracy and White Balance
Extension color accuracy in photos is technically difficult because hair is highly reflective and varies in tone across a single strand. Automatic white balance on smartphones compensates aggressively for warm light sources, often rendering warm blonde extensions as cool and flat. Manual white balance — available in most professional camera apps including Lightroom Mobile (free) and Halide — set to 5,500K for natural window light provides the most accurate baseline.
The practical test for color accuracy: photograph a white business card under your shooting conditions and adjust white balance until the card reads as white, not warm or cool. This takes 60 seconds and removes color cast from every shot in that session.
Post-processing for extension photography should correct exposure and white balance and stop there. Significant skin smoothing or hair retouching undermines the documentary purpose of the photograph. A client who books based on a retouched photo and sees work that reads as different in person develops an attribution error — they assume the result isn't as good as the photo rather than recognizing that the photo was altered.
Building a Consultation Gallery That Converts
Consultation galleries — collections of before-and-afters used during booking — perform differently than Instagram content. Instagram rewards fresh, trendy content; consultation galleries reward specificity and variety. A gallery that shows results on fine hair, medium hair, thick hair, short starting lengths, box-colored starting hair, and highlighted starting hair converts consultations at significantly higher rates than a gallery of aspirational results on already-thick, already-long hair.
Extension specialists report — across online communities, including dedicated Facebook groups for hand-tied and weft installers — that their three highest-converting consultation photos are consistently: fine hair with significant volume increase, a before-and-after on a client who had previously had extensions done poorly elsewhere, and a density transformation on medium length hair going to 22 inches or longer. These address the three primary objections: "will it look natural on my hair," "can you fix what went wrong before," and "how much length is actually achievable."
For digital delivery, Google Drive folders organized by hair type and method work well for consultations done over video or phone. A folder link sent before the consultation allows the prospective client to self-select comparable examples before the call, which shortens the consultation and increases the quality of the conversation.
Frequently Asked Questions
What lighting is best for photographing hair extensions?
Directional natural light from a window positioned to the side or behind the client is the most flattering and most accurate for color rendering. For salon settings without reliable window light, a 26-inch softbox at 45 degrees to the client is the professional standard. Ring lights work for social media content but create a circular catchlight that reads as commercial rather than editorial. Overhead fluorescent lighting should be avoided entirely — it flattens color and creates unflattering shadows.
Should I use a professional camera for extension photography?
Current-generation smartphones (iPhone 15 Pro series, Google Pixel 8 and newer) produce results indistinguishable from entry-level DSLRs for Instagram-resolution photography. The variable that matters most is lighting, not camera hardware. For print or editorial purposes, a mirrorless system with a portrait lens (50mm or 85mm equivalent) produces superior results, but the investment is only justified once the photography workflow is established with a smartphone.
How do I photograph extensions to show color accuracy?
Set white balance manually to approximately 5,500K under natural daylight conditions. Use a white card to calibrate if shooting with a smartphone. Avoid heavy post-processing that shifts warm tones — the goal is accuracy, not enhancement. Clients who book based on accurate color documentation have more realistic expectations and fewer revision appointments.
Building the Documentation Habit
The stylists who build the strongest extension portfolios are not the ones who shoot every client — they're the ones who shoot five clients per month, consistently, with a repeatable setup. Five well-documented before-and-afters per month is 60 per year; at the end of two years, a specialist has a portfolio that covers every hair type, every method, every common starting condition. That's the asset that separates a booking calendar with a 3-month waitlist from one with open slots.
Set up the equipment once, leave it accessible, and develop a post-install photography routine that adds 8 to 10 minutes to each session. The compound return on that time investment is measurable.