How to Photograph Hair Extension Before and Afters That Actually Book Clients
How to Photograph Hair Extension Before and Afters That Actually Book Clients
The difference between a before-and-after photo that stops a scroll and one that gets ignored has nothing to do with the quality of the extension work. It has to do with light, angle, and a two-minute prep routine that most stylists skip. Extension photography is a technical discipline, and the stylists who treat it that way — consistently, even on rushed days — fill their books from Instagram faster than their equally skilled competitors who do not.
Why Most Extension Before-and-Afters Fail to Book Clients
The most common failure mode: the after shot is photographed differently than the before. Different angle. Different light. Different expression on the client's face. The result reads as visual mismatch, not transformation — and the viewer's brain registers inconsistency before it registers the quality of the work.
A well-documented before-and-after from the same position, same light source, and same focal distance communicates something specific: "the only variable that changed was the extensions." That proof structure is what converts viewers into inquiries. When the before looks like a hallway snapshot and the after looks like a proper salon photo, the viewer attributes the difference to photography, not to your skill.
A secondary failure: photographing the "after" state as a finished style rather than as an installed result. Blowouts, beach waves, and full styling all obscure the extension work itself. Clients booking extensions want to see the length, density, and blend — not a look they assume requires 45 minutes of styling to achieve at home. The best portfolio images show the hair in a natural, minimal-styling state that demonstrates the method's output.
The Two-Light Setup Every Stylist Can Build for Under $80
Natural light from a north-facing window is the industry standard for hair photography. It is diffuse, flattering, and consistent — no harsh shadows across the attachment zone, no blown-out highlight from direct sun. If your salon has this, position your client 2-3 feet from the window, facing it. That setup alone outperforms most ring-light configurations for showing blend quality at the root.
For salons without reliable natural light, two continuous LED panels positioned at 45-degree angles from the client's face — one slightly higher, one at face level — replicate the north-window effect. A pair of Neewer bi-color LED panels runs $60-80 at retail and produces better results than a ring light for extension photography specifically because they illuminate the hair from the side, which reveals texture and dimension. Ring lights are flattering for faces; they are terrible for showing the difference between extension hair and natural hair at the root line.
Avoid overhead salon lighting as the primary source. It casts shadows downward into the attachment zone — the exact area you want to show cleanly. If overhead fluorescents are unavoidable, add a reflector or foam board below the client's eye line to bounce light upward and fill those shadows.
Standardizing Your Shot: The Four-Photo Protocol
Extension specialists who build books systematically use a consistent four-shot set for each client. Every client, each technique, every session — the same four positions:
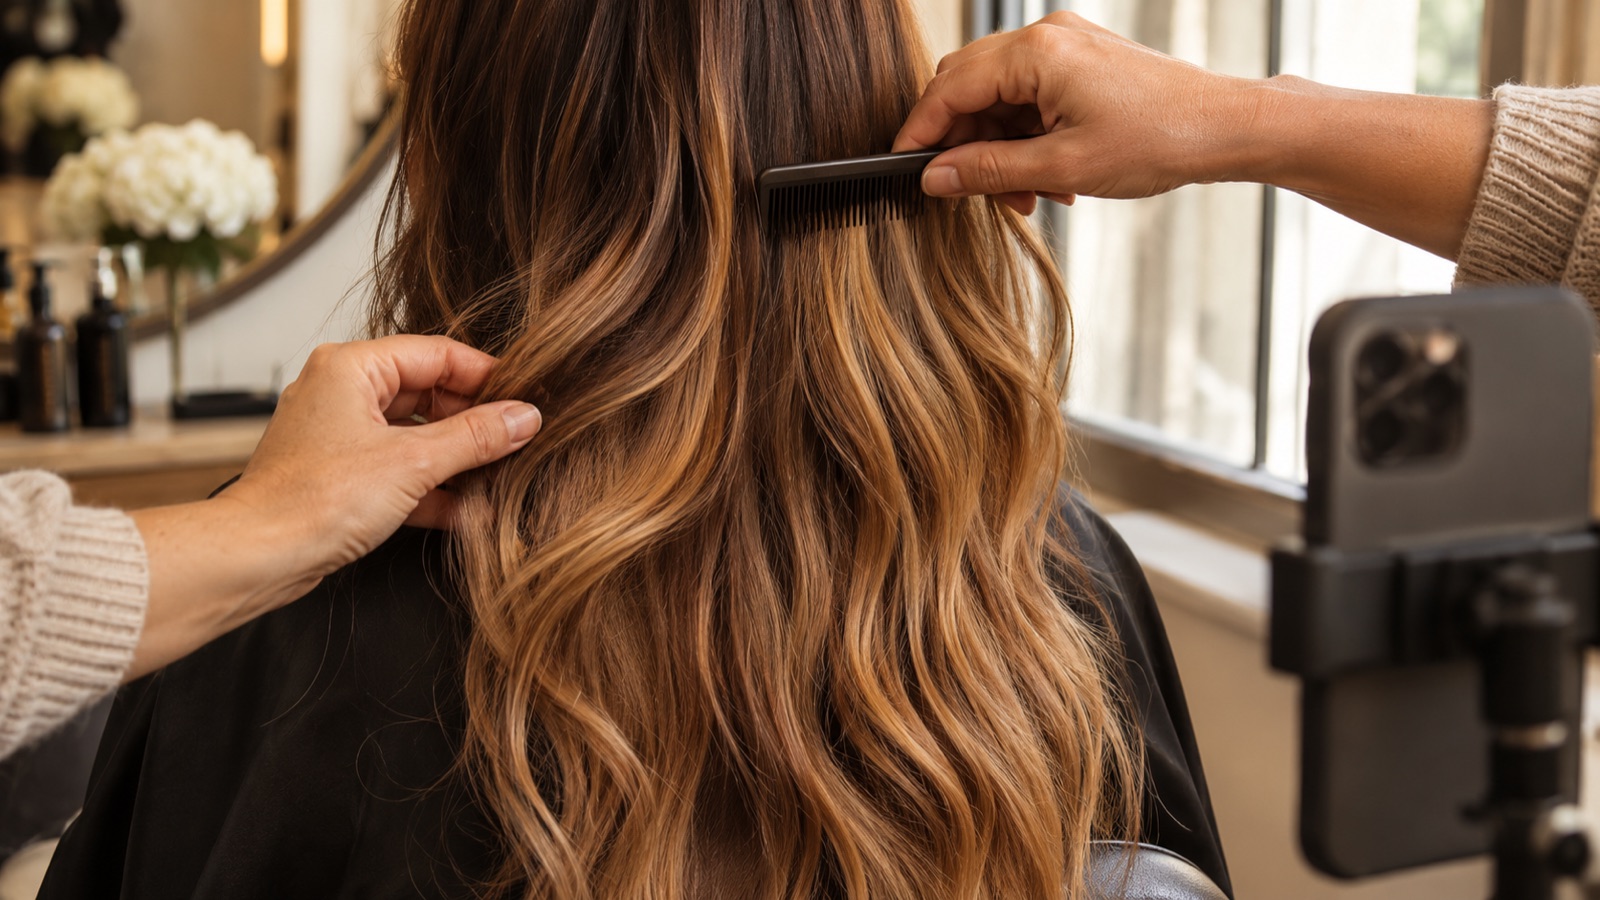
1. Full length, back, hair down. Shows the full length result and density. Client faces away, looking straight ahead. Hair centered on their back, not swept to one side. This is the "proof of work" shot — it should show the length against the body so viewers can calibrate scale.
2. Profile, shoulder length view. Client turned 90 degrees, chin neutral. Hair falls forward over the shoulder. This shot shows blend quality at the front hairline, which is often the client's primary concern, and gives a natural framing that photographs well even at lower resolutions.
3. Crown attachment zone detail. Macro shot of the top sections showing the extension placement. This is the professional credibility shot — it shows clean, precise placement to stylists evaluating your work, and it shows "you can't tell" to clients evaluating your invisibility. Macro phone cameras (portrait mode with a standard lens, not ultra-wide) are sufficient; you do not need a DSLR for this.
4. Face-frame close-up (optional, client permitting). Shows how the extensions blend around the face. Particularly useful for weft methods where the front sections are visible during styling. Requires a signed photo release if posting publicly — this is the only shot that clearly identifies the client.
The before set uses the same four positions. Same light, same distance, same day (before installation). This is where most stylists fail — they do a quick phone shot at check-in with bad light and forget to replicate the conditions post-install. The before shot is not an afterthought; it is half the proof.
Editing for Extension Photography: What to Enhance, What to Leave Alone
Standard hair photography edits (warmth, shadows, vibrance) are fine. What extension photos cannot survive: aggressive skin smoothing, selective sharpening that makes extension hair look crisper than natural hair, or color grading that shifts the shade of the extensions relative to the roots. All three create images that look good on screen but produce client consultations where the person sitting in your chair has a different expectation than what they booked from.
The working edit for extension before-and-afters in Lightroom or Snapseed: bring up shadows slightly to reveal the attachment zone, add modest clarity (not sharpness) to show hair texture, and match the white balance to natural skin tone. Three adjustments, two minutes. The goal is accurate — not beautiful. An accurate photo that books a client who gets exactly what she expected is worth more than an aspirational photo that books a client who is disappointed on installation day.
Grain and film simulation filters popular in general Instagram aesthetics tend to obscure the fine detail that extension photos rely on. A light grain pass over the attachment zone makes it harder to see clean placement — the opposite of what you want a potential client to notice.
Building a Portfolio That Converts: The Logic Behind Variety
An extension portfolio that converts browsers into inquiries demonstrates range across three dimensions: method, hair type, and result type. Method variety across tape-in, genius weft, keratin bonds, and clip-ins shows expertise breadth. Hair type variety (fine-to-full, light-to-dark, straight-to-curly natural texture) shows that you have solved different problems, not just the same problem repeatedly. Result type variety (length, density, combination) speaks to different client goals.
The most common portfolio failure among skilled stylists: 15 images of the same method on similar hair types. Even if the work is excellent, it reads as specialist-only — which turns away the inquiries that do not match that specific profile. A potential client with fine, light brown hair who sees 15 weft installs on thick, dark hair will move on, even if you do excellent work on fine hair.
Most stylists need 20-30 images to cover this range meaningfully. That is 5-7 consistent client sessions photographed with the four-shot protocol. The output is a portfolio that answers "can you do this for me?" for a significantly wider range of clients.
FAQ: Extension Before-and-After Photography for Professionals
How to photograph hair extension before and after photos for social media?
Standardize position, light, and distance across before and after shots. Use a north-facing window or two LED panels at 45 degrees. Photograph four angles per session: back full-length, profile, crown detail, and optional face-frame. Edit for accuracy, not aesthetics.
What camera settings work best for extension photography?
Most modern phone cameras (iPhone 14 and later, Samsung Galaxy S23 and later) produce sufficient quality for social media. Use portrait mode for close-up detail shots and switch to standard lens (not ultra-wide) for full-length shots. DSLR is not necessary, but consistent lighting matters far more than camera hardware.
Should you photograph extension results before or after styling?
Both, ideally. Document the blowdry result for portfolio use (shows the natural fall and blend), and separately photograph minimal-styling state for clients evaluating the method itself. Never photograph only a curled or beachy wave result — it makes it impossible for the viewer to assess the extension work itself.
How do extension stylists get clients from Instagram before-and-after posts?
Consistency in photo quality makes individual posts feel like evidence of a system rather than a one-off. Pair each before-and-after with a caption that names the method, approximate number of rows or wefts, and what problem the client came in to solve. That specificity — not inspirational language — is what turns a photo into a booking inquiry.
The Compound Effect of Systematic Documentation
A stylist who photographs 3 clients a week using this protocol has 150 images per year. At 30 usable portfolio shots per client profile type, that is five distinct client narratives on Instagram, each showing method, problem, and result. That is the kind of feed that books inquiries from strangers who have never met you — because the evidence is already there. The stylists who treat documentation as an interruption to their work will always be chasing referrals. The ones who treat it as part of the work build a machine that generates bookings while they sleep.